Amazon Pay Set Up
Welcome to your Amazon Pay setup guide!
Amazon Pay is a secure and trusted payment solution that allows your customers to check out using their Amazon accounts — making the buying process faster, more familiar, and often more likely to convert.
This step-by-step guide will walk you through everything you need to successfully connect Amazon Pay to your eMerchantClub store. Whether you plan to activate it now or prefer to complete the connection manually later, we’ve got you covered.
Let’s get started setting up Amazon Pay so you can offer your customers a seamless and professional checkout experience.

Step 1: Visit online payment service | Amazon Pay
The first thing you want to do is visit pay,amazon.com and click on ‘Sign up your business’
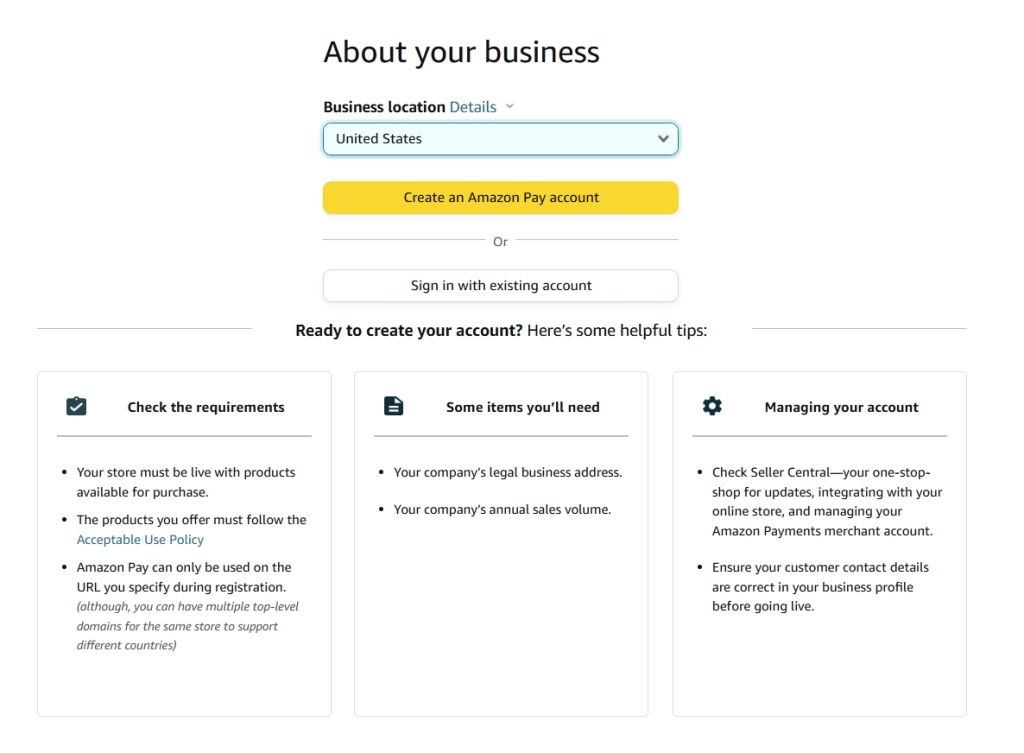
Step 2: Enter main account information
Enter your account sign-up information. This includes Business location, your email address, Company name, and your website URL

Step 3: Create an account
For this step you will need to choose create an account. If you alredy have an account, make the appropriate selection.

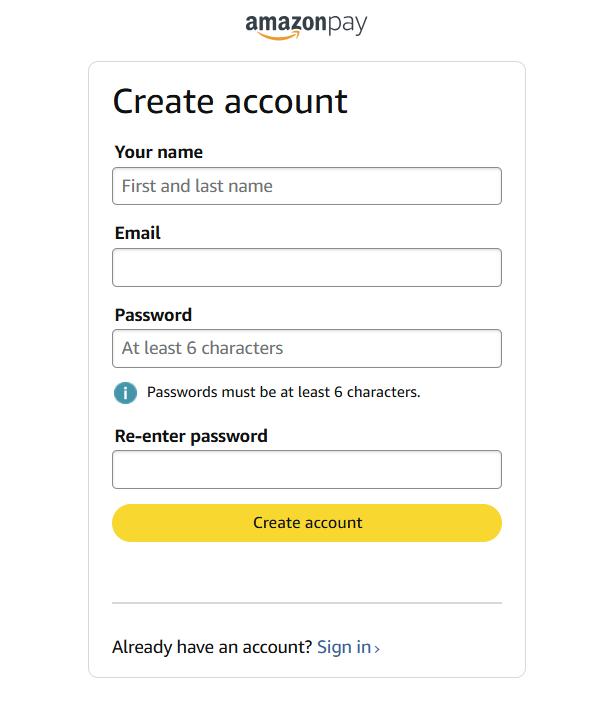
Step 4: Create your account and verify
Enter your first name, email and password. Do not forget the email and password you are using for Amazon Pay
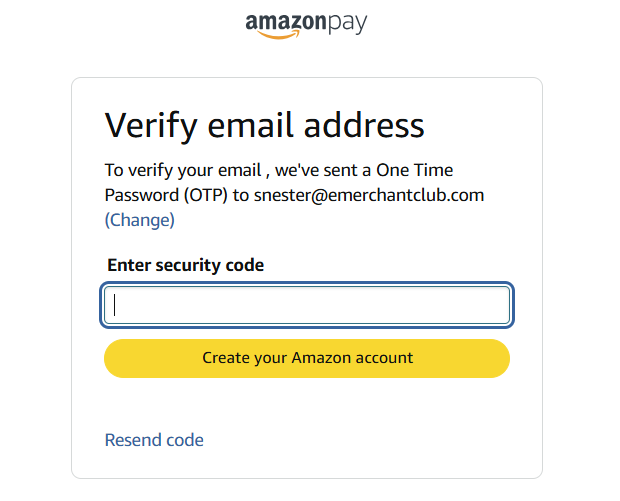
Next, you will be prompted to verify your email address.
And you may also be prompted to set up Two step verification. Enter your mobile number

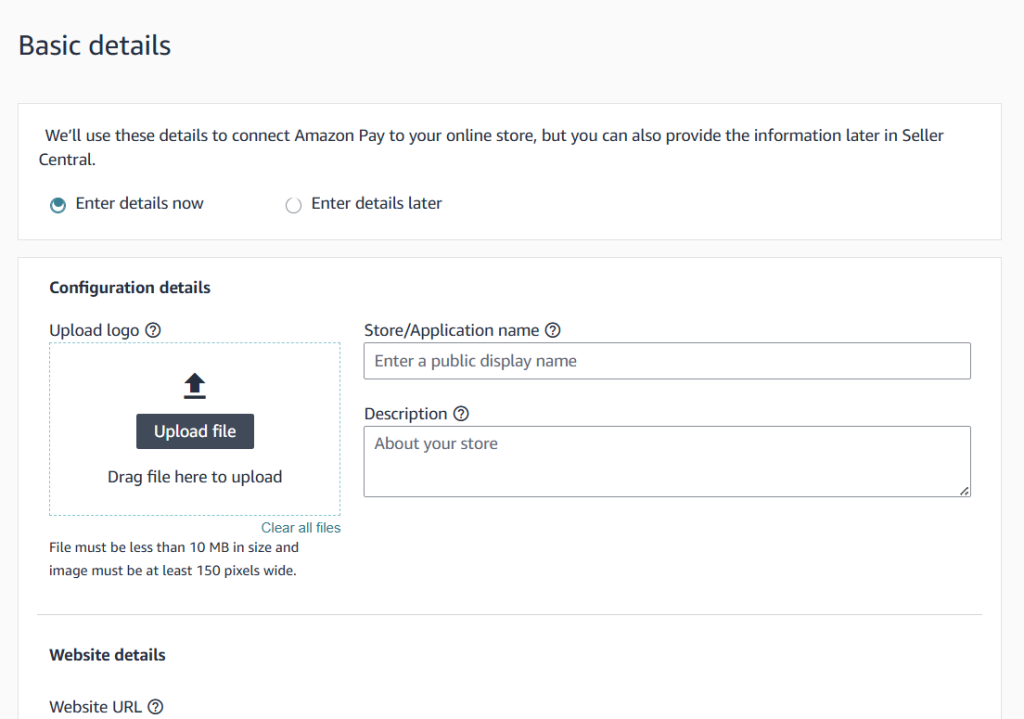
Step 5: Enter basic business details
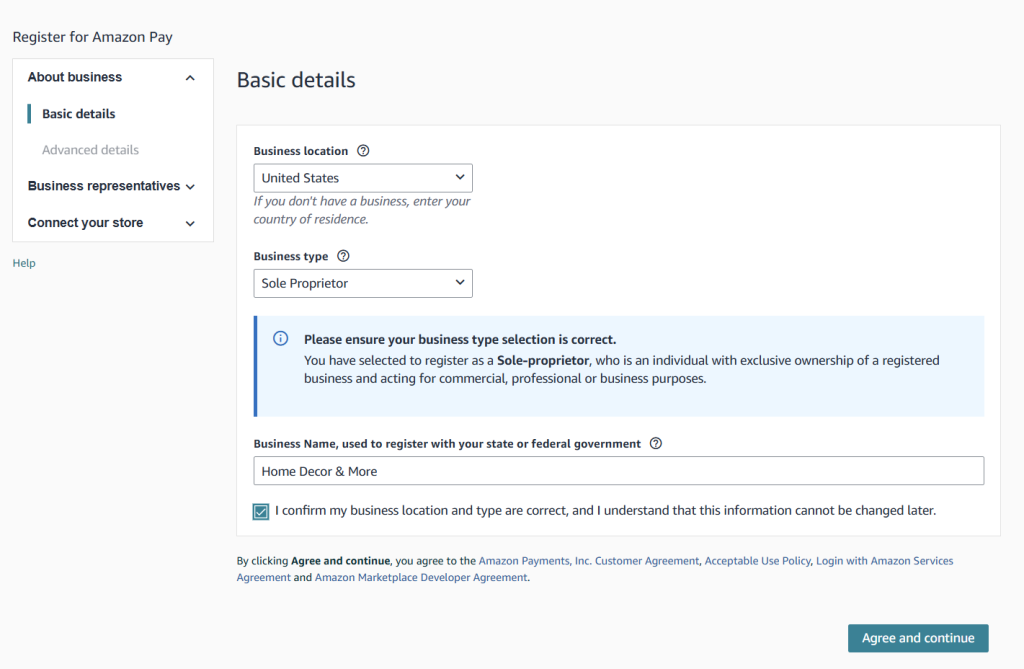

You can choose to enter additional details later

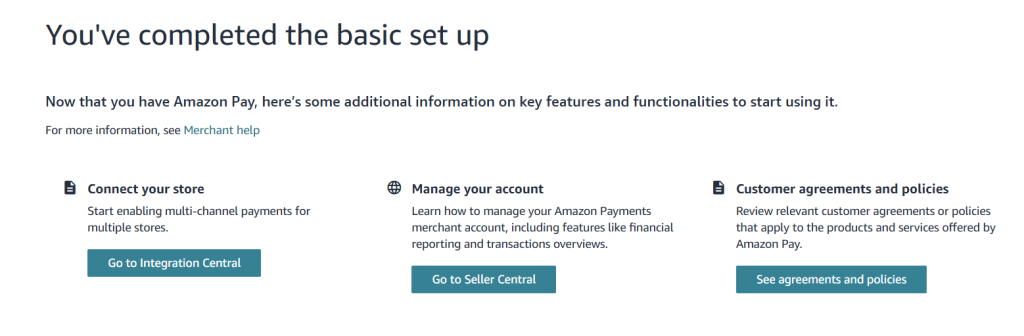
Step 6: Integrate Amazon Pay to your website
Now you will need to connect Amazon Pay to your website.
Click Go to Integration Central button
Click Get Instructions and then Click Add Store ID (this will enable you to generate all the secret keys you need to connect Amazon Pay to your website.

Fill out all of the configuration details
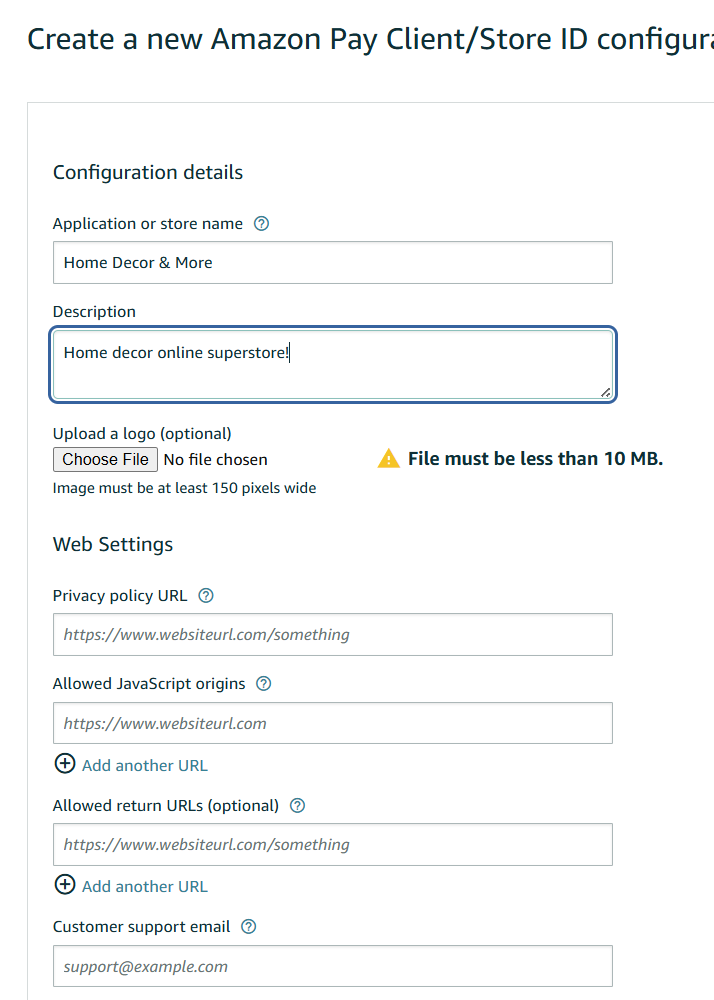
For Allowed JavaScript origins (field)
In this field, you’ll enter the full URL of your live website where Amazon Pay buttons or checkout might be used. This is a security measure that allows Amazon Pay to work only on authorized domains.
Example: https://www.mystore123.com
Make sure to use https:// (Amazon Pay requires a secure site)
Do not include any slashes at the end (e.g., /)
Allowed Return URLs (field)
The Allowed Return URLs field tells Amazon Pay where to send the customer after they complete or cancel a transaction. This should point to your store’s checkout success or order confirmation page.
Example: https://www.mystore123.com/checkout/onepage/success/
Important Notes:
If you’re using a custom thank-you page or checkout route, adjust the URL accordingly.
This URL should match the page customers see after completing an order.
Use https://, and make sure it exactly matches your site’s format (including trailing slashes if they exist).
Step 7: Copy and Paste API Credentials
First, login to your site manager (backend of your website)
Navigate to Stores > Conifguration > Sales > Payment Methods
Scroll down to Amazon Pay > Click Configure > Click I’ve already set up Amazon Pay

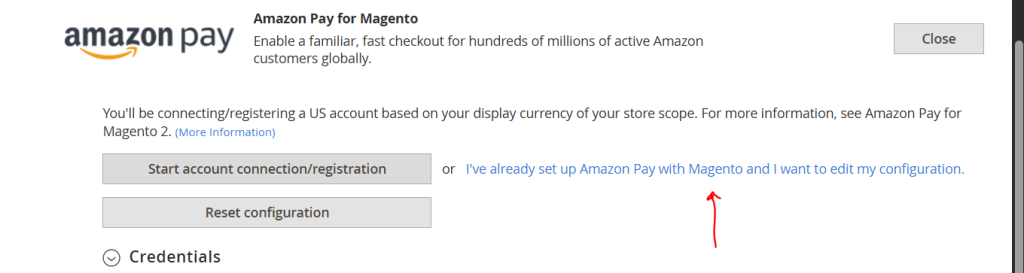
You will now see the Credentials that you need to copy and paste over from your Amazon Pay account you created.

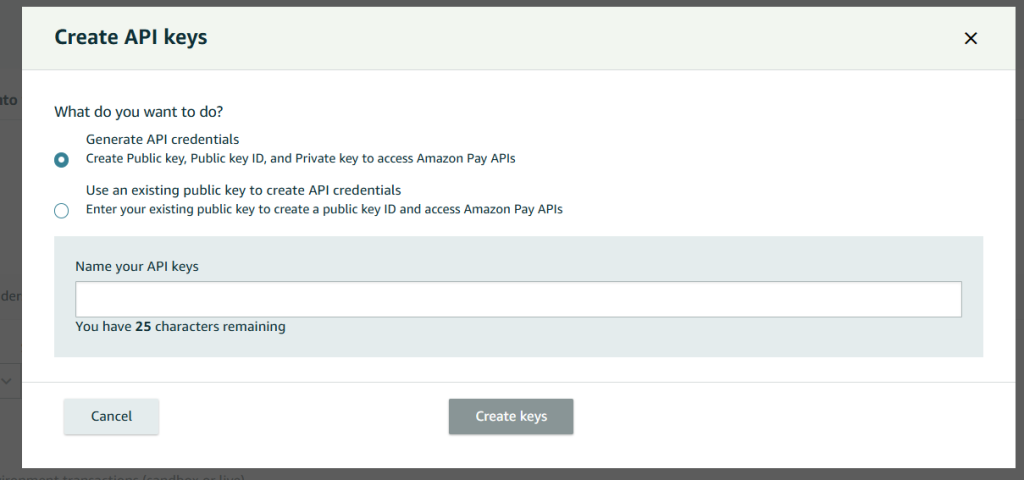
Now it’s time for you to create a Private Key
Something you need to keep in mind. When you generate this key a file will automatically save to your downloads (a .pem file) YOU WILL NEED THIS
Create and name your API key
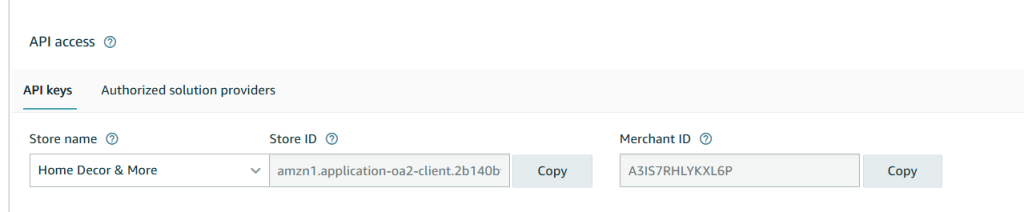
Now, it’s time to copy and paste that information over

When all of your information is addred to the fields in your magento configuration > Click Save in top right corner.
Navigate to System > Cache Management > Click Flush Magento Cache

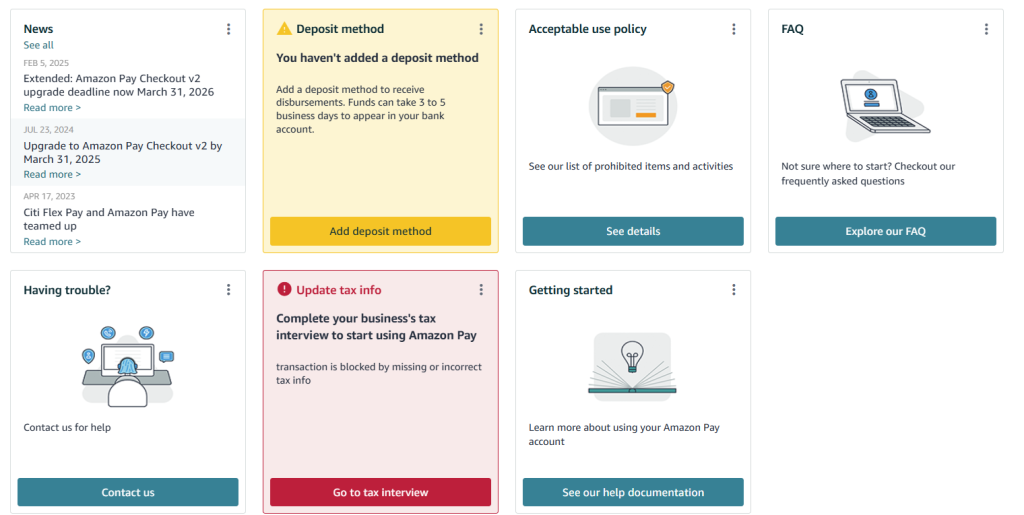
Your Amazon Pay account will now be connected. Revisit your Amazon Pay central account and be sure to set up your deposit method and other important information