-
Getting Started
-
Magento Customizations
-
Magento Products
-
Magento Customers
-
Website Promotions & Sales
-
Product Warehouses
-
Placing Product Orders
-
Marketing Center
- How to run Facebook Ads
- Facebook Posts
- How to market on eBay
- How to write a blog
- Social media marketing
- Using gift cards
- What is SEO?
- How to add a blog post
- Giftcards
- Digital Catalogs
- Integrating Amazon Pay
- Google Search Console set up
- Walmart Integration
- Fulfilling eBay Sales Using Wholesale Product Warehouses
-
Version 24 Training
How to change logo
You are able to change your website logo in your Magento admin. Follow this documentation to learn how to change your logo.
Understanding logo sizing and formats
eMerchantClub recommends a logo size of (250×150 pixels)
If your uploaded logo is too large the look of your website will look odd. You can upload .jpeg and .png logo file formats.
Uploading your logo
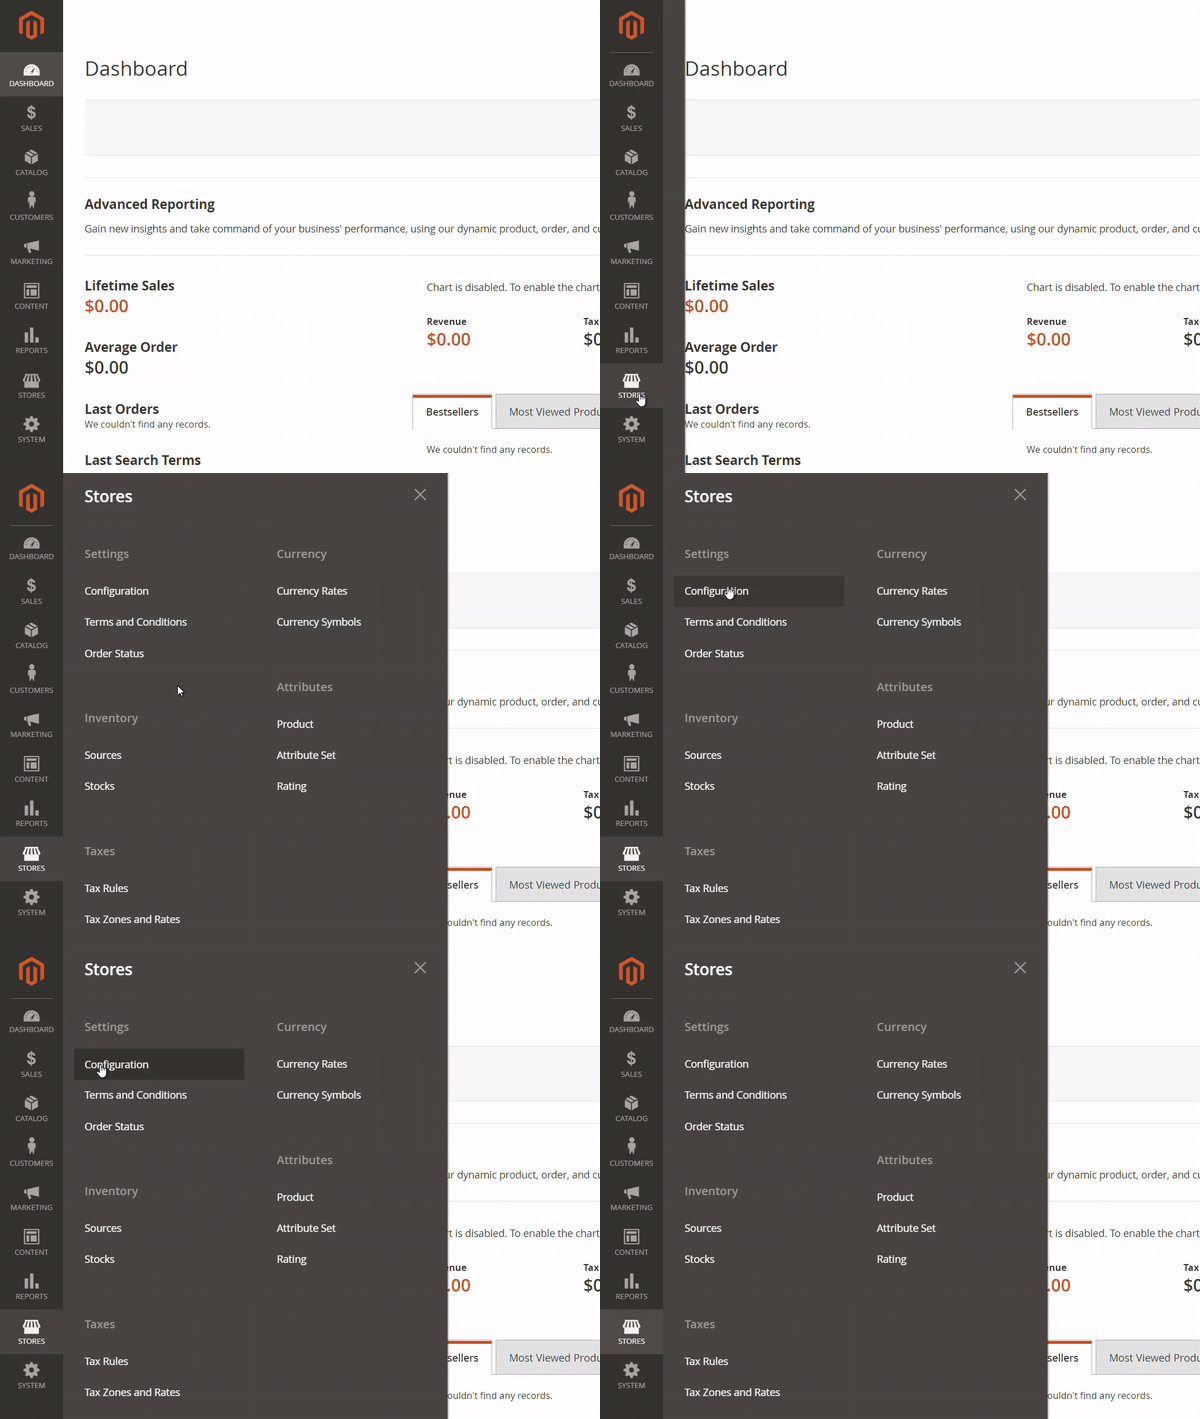
First, login to your Magneto website admin. Navigate to Stores > Configuration

Next you will scroll down and expand the EMC tab by clicking it. After, your will click Theme Modifications

In the Header section you will see the option to Choose File for both the Favicon and the Logo… let’s start with the Logo file upload.

We recommend saving your logo somewhere easy to access like your desktop. Once your logo is saved click the Choose File button and select your saved logo. Keep in mind you logo dimensions should ideally be 250×150 pixels.
Once your logo is uploaded you will see the file name next to the Choose File button. You logo is now uploaded! You need to make sure to click Save Config in the top right corner to save changes.
Clearing cache
To see the logo change on your website you will need to Clear Cache.
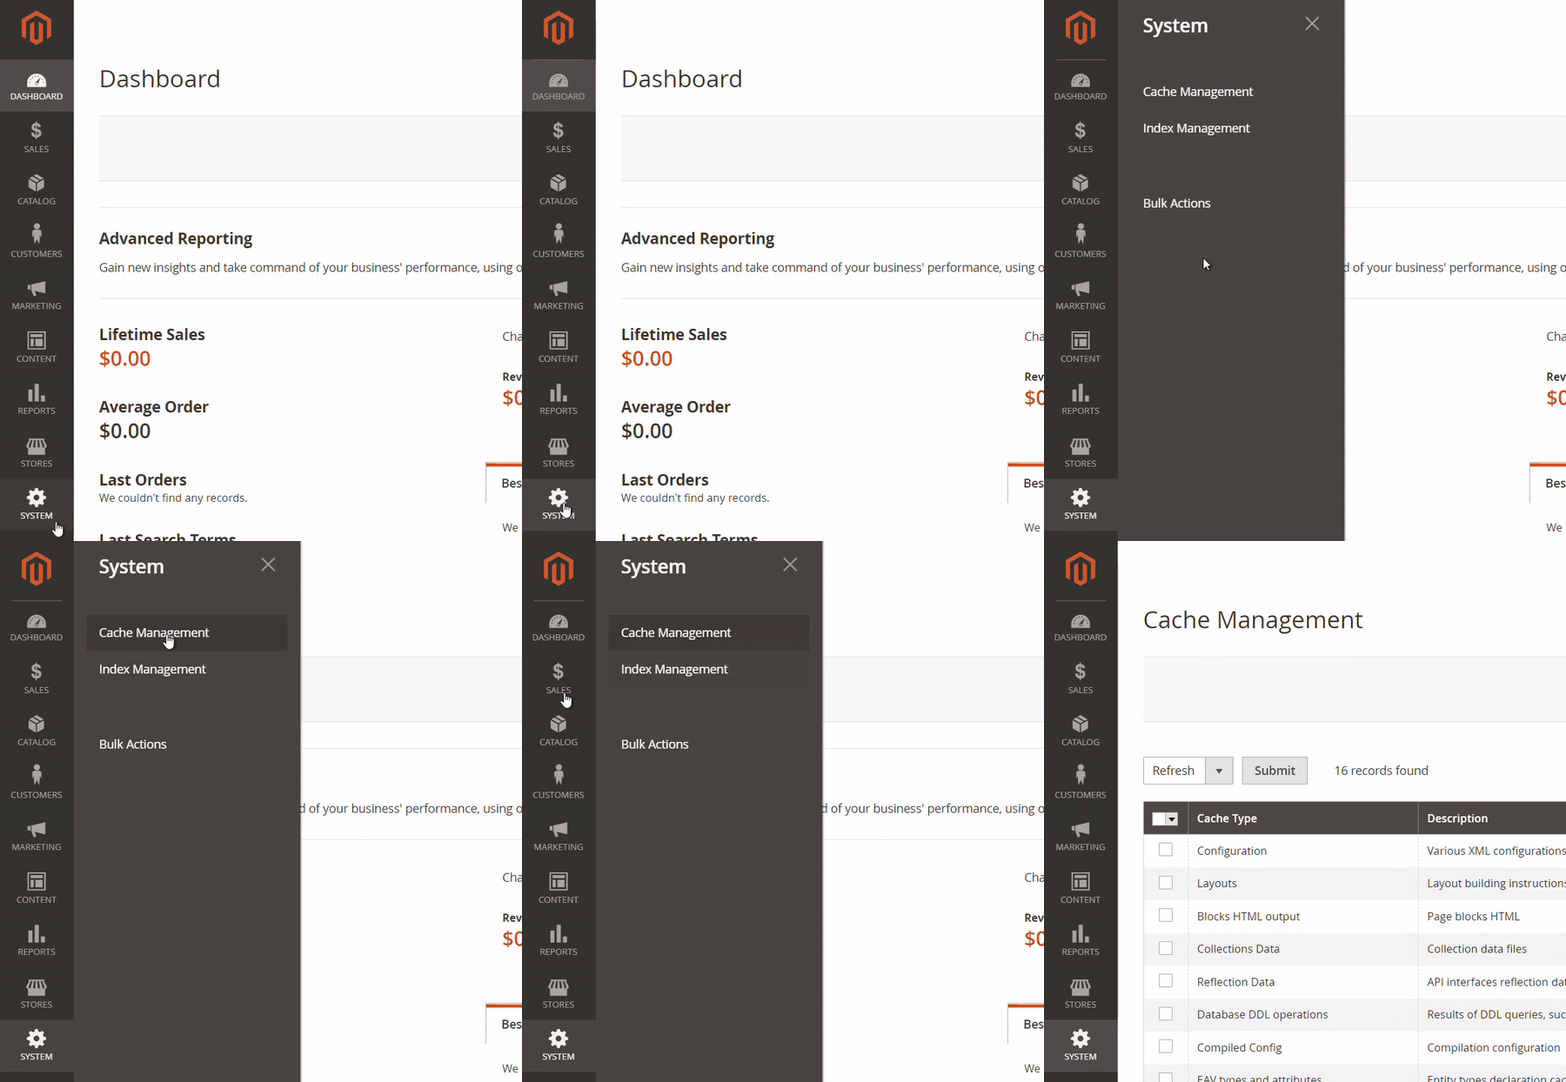
To clear your website cache navigate to admin side panel and click System > Cache Management

Now all you need to do is click the Flush Magento Cache button.
After you do this reload your website home page to see the new logo.

Changing favicon
Changing your favicon is the exact same process as changing your logo except you will upload you favicon to the favicon Choose File section.
We recommend your favicon dimensions are 16×16 pixels. If you are not familiar with a favicon it is the small logo that appears in the tab of a browser. This small logo is also featured in other various online formats. Having a favicon is great for personal branding!
After you upload your favicon make sure to Save Config and Flush Magento Cache.


