-
Getting Started
- Customization form
- Magento Site Manager Login
- PayPal Business Set Up
- Connecting PayPal
- Getting Started
- How to login to your site manager
- The Difference Between Wholesale and Retail Pricing: A Comprehensive Guide for eMerchantClub Members
- Enable & disable products
- The Importance of a Brand Logo: Why Every Business Needs One
- Amazon Pay Set Up
- How to set up Stripe Payments
-
Magento Customizations
-
Magento Products
-
Magento Customers
-
Website Promotions & Sales
-
Product Warehouses
-
Placing Product Orders
-
Marketing Center
- How to run Facebook Ads
- Facebook Posts
- How to market on eBay
- How to write a blog
- Social media marketing
- Using gift cards
- What is SEO?
- How to add a blog post
- Giftcards
- Digital Catalogs
- Integrating Amazon Pay
- Google Search Console set up
- Walmart Integration
- Fulfilling eBay Sales Using Wholesale Product Warehouses
- How to Set up a Facebook Business Page
- Guide to M2E Pro Magento to eBay Integration
- How to get more views/impressions on your eBay listings
- SEO in 2025: Essential Strategies for New Websites to Generate More Traffic and Sales
- Show all articles ( 3 ) Collapse Articles
-
Version 24 Training
-
Integrations
-
v25
How to create customer groups
Creating customer groups can be used to organize your customers into special groupings. For example, you may want to classify a certain customer or group of customers as VIP.
Follow the documentation to learn how to create your own customer groups and assign customers to particular groups
Creating a customer group
First, login to your Magento admin panel.
Next, navigate to Customers and click Customer Groups

Now you will see your default or existing customer groups. If you want to create a new customer groups click Add New Customer Group
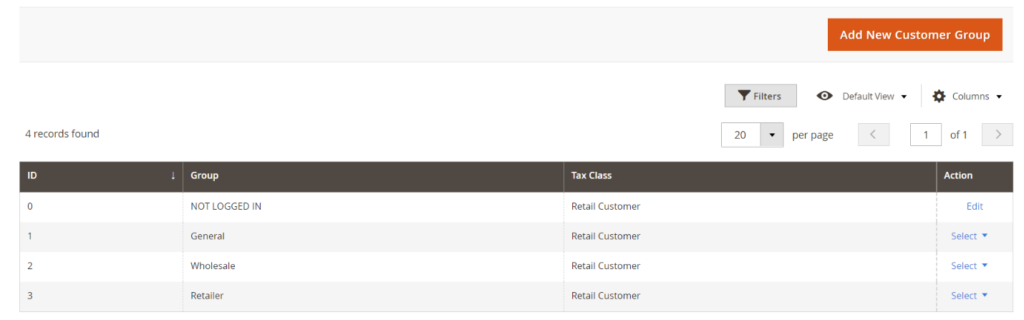
For this example we will be adding a VIP customer group. Name your group and click Save Customer Group

You will now see the new customer group. But before we attempt adding any individual customers to this group let’s make sure to clear/flush our Magento cache.
Navigate to System > Cache Management > Click Flush Magento Cache

Now that the cache is cleared navigate to Customers > All Customers
Find your customer and click the Edit link. Now click Account information tab and change group dropdown to your newly created customer group. In this case, VIP customers
Clear your cache one more time and you have now successfully added a individual customer to your newly created customer group.
