How Can We Help?
PayPal business set up
Follow the steps in this training to set up your PayPal business account.
If you already have a personal PayPal account and wish to convert it to a PayPal business account, please visit our training video PayPal personal account to business
If you are looking for the MOBILE VERSION of this training, please visit our training video PayPal Business set up (mobile)
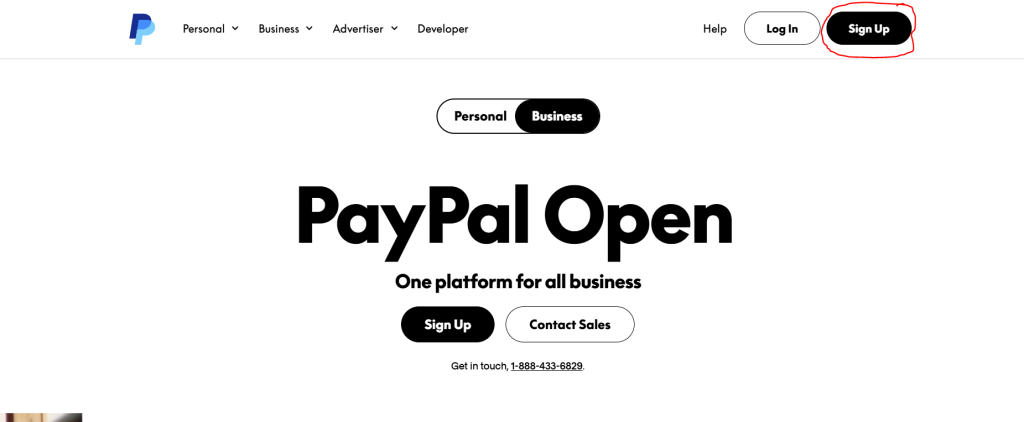
First visit paypal.com/business > click Sign Up in top right corner (make sure you are toggled to BUSINESS)
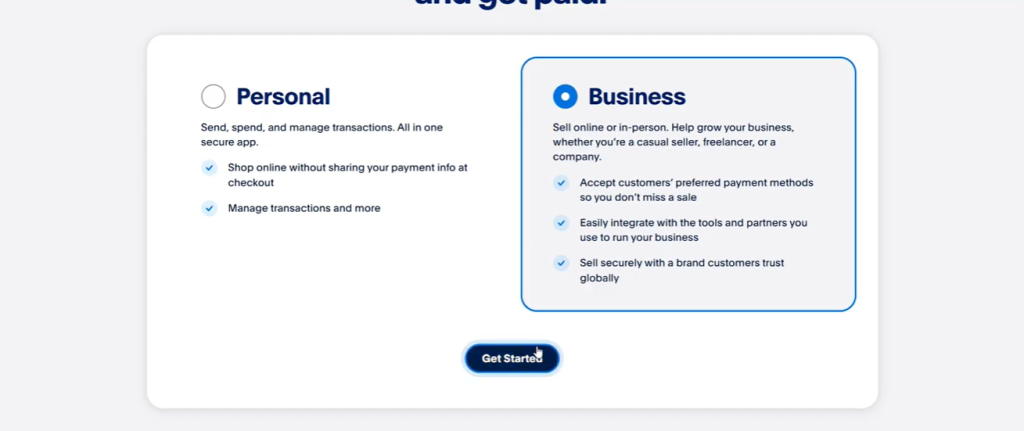
Next, click on the business selection and click Get Started
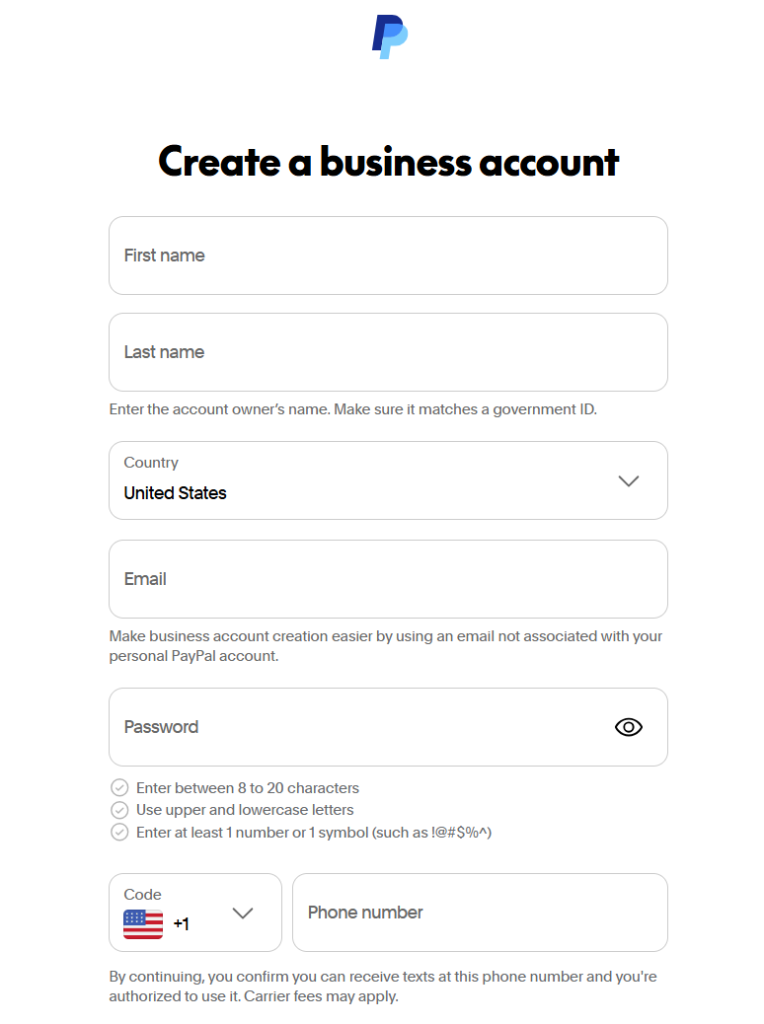
Now you will enter your basic account information – ensure you enter a valid cell phone number as you will need to verify via sms text
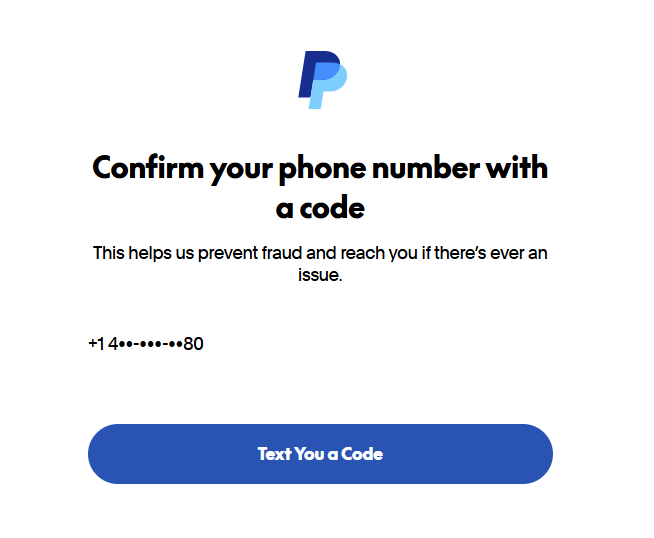
Now you need to click Text you a Code so you can verify
Enter the code that was sent to your phone

You will now need to select from the options below. We recommend selecting ‘Sole proprietorship, or you sell on the side’

For Business Type we recommend selecting Individual

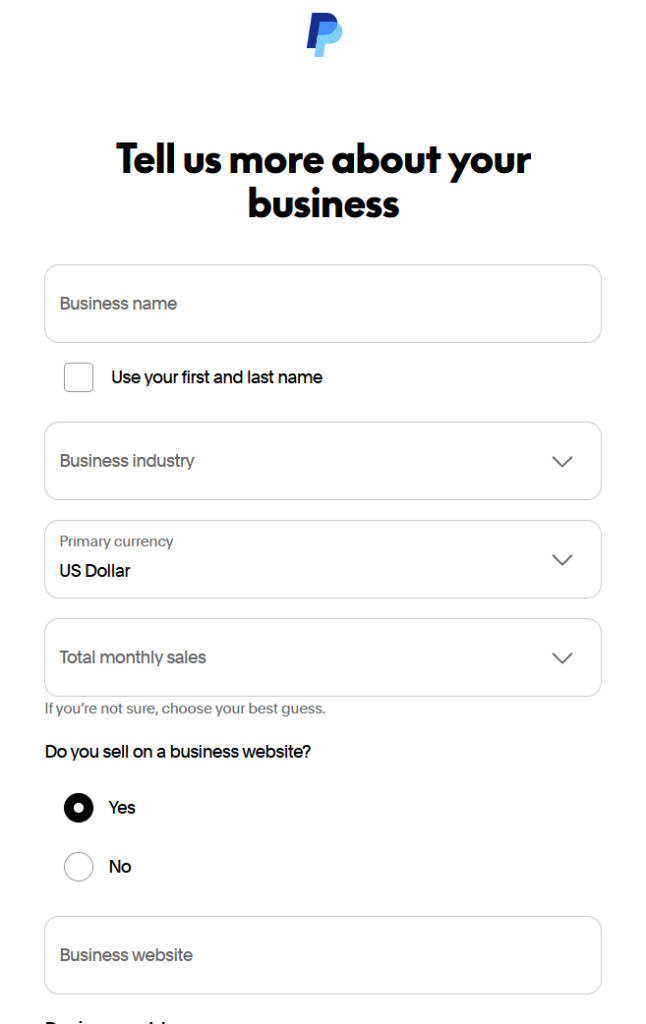
Next, you will need to share some basic business details with PayPal. (enter accurate information) – Agree and Submit

After that you will need to provide additional information about your business
Next, you wil need to link your bank. We recommend doing this now. Click Link a Bank

Select from the bank list or use the search box to find your bank

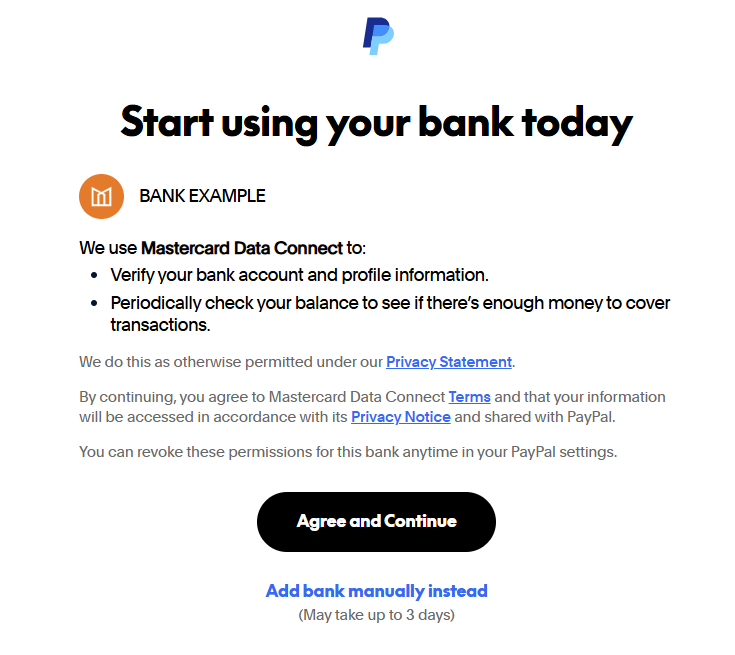
Authorize PayPal to start the connection to your bank – click Agree and Continue
At this point PayPal will securly load your banking providers login area. Login so PayPal can allow you to link your account
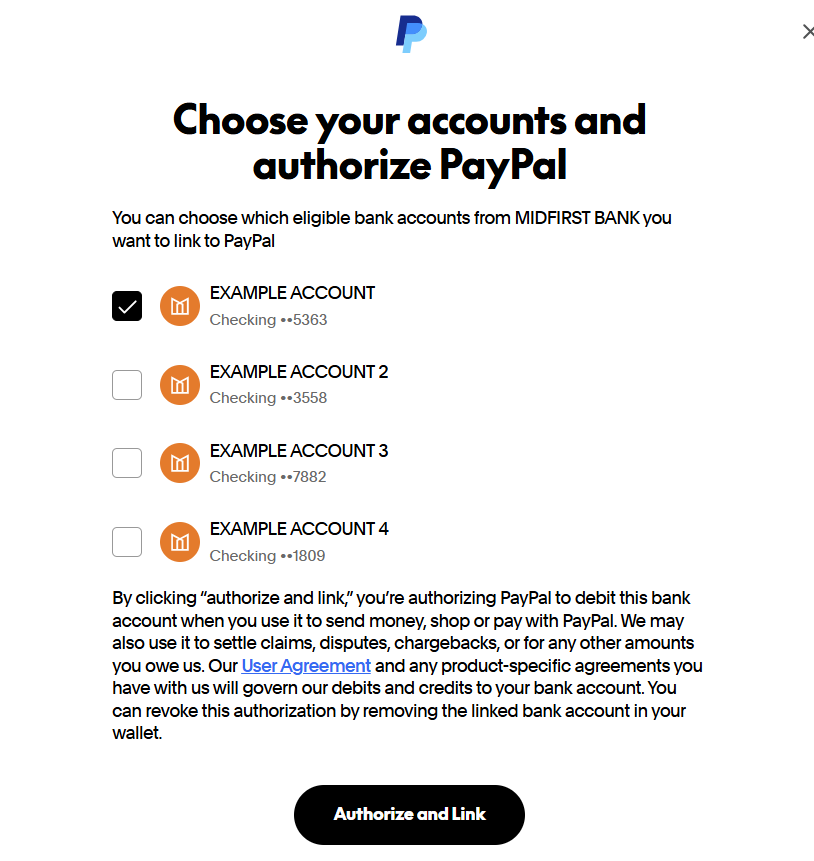
Now you need to select the account(s) that you wish to link to PayPal – Make sure to click Authorize and Link when you are done.
You will see this message. Click Done

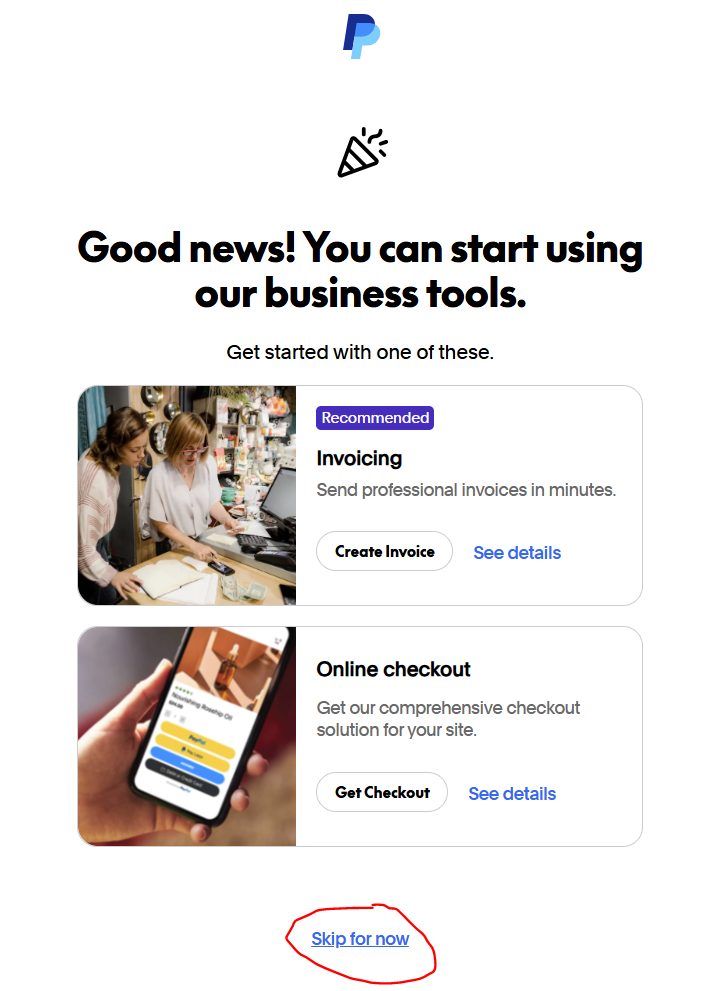
At this point you may be redirect to a page that recommends PayPal services. For now skip this as your goal will be to connect the account to your website. Click skip for now
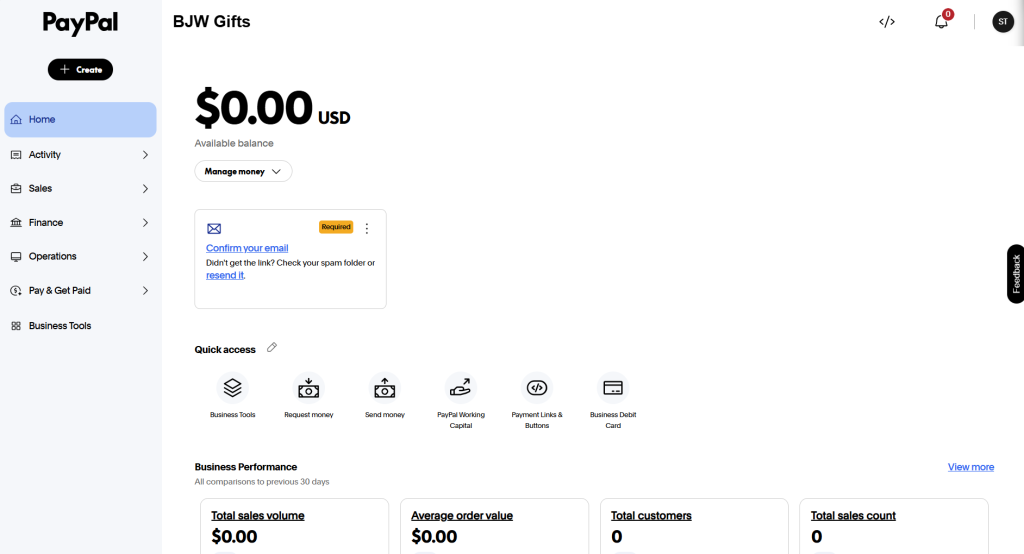
You will now be navigated to your PayPal business account dashboard.
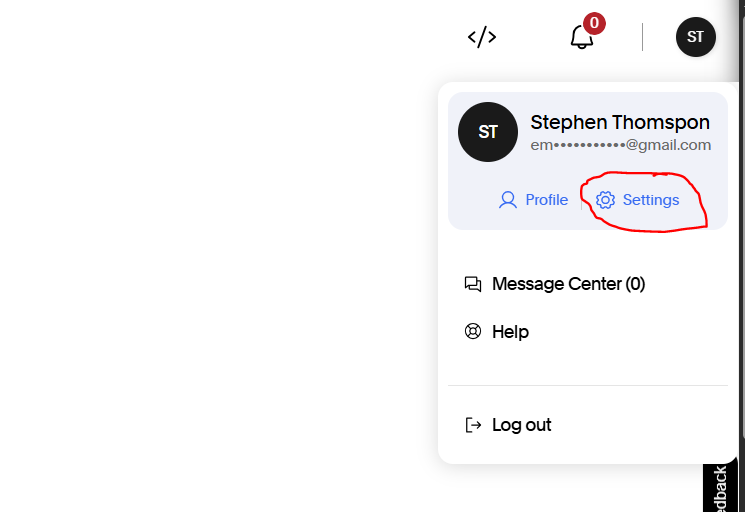
Next, from your dashboard navigate to the top right corner and click the circle. Then click Settings
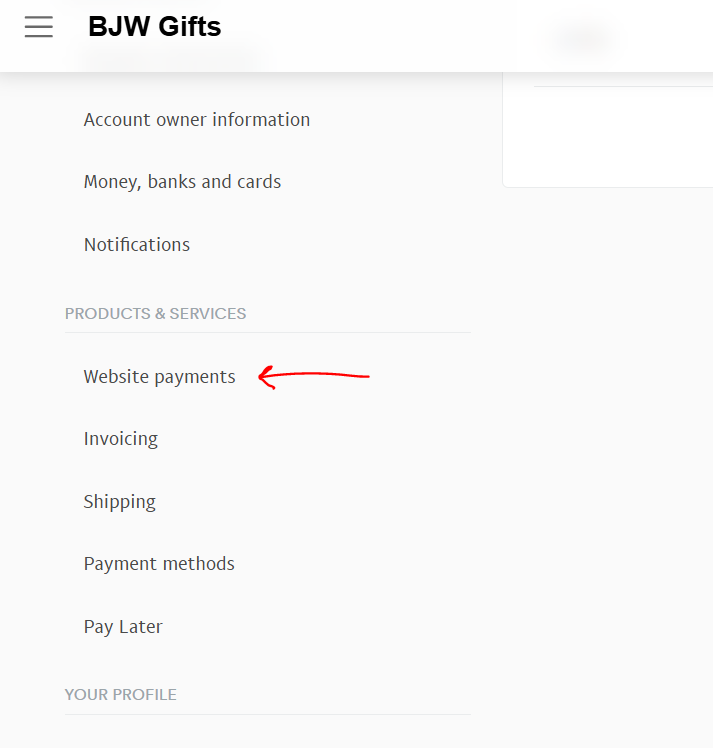
On the left sidebar scroll down until you see Website Payments > click Website Payments
Scroll down to API Access section and click Update

Scroll down and select NVP/SOAP Integration (Classic)

Click Agree and Submit

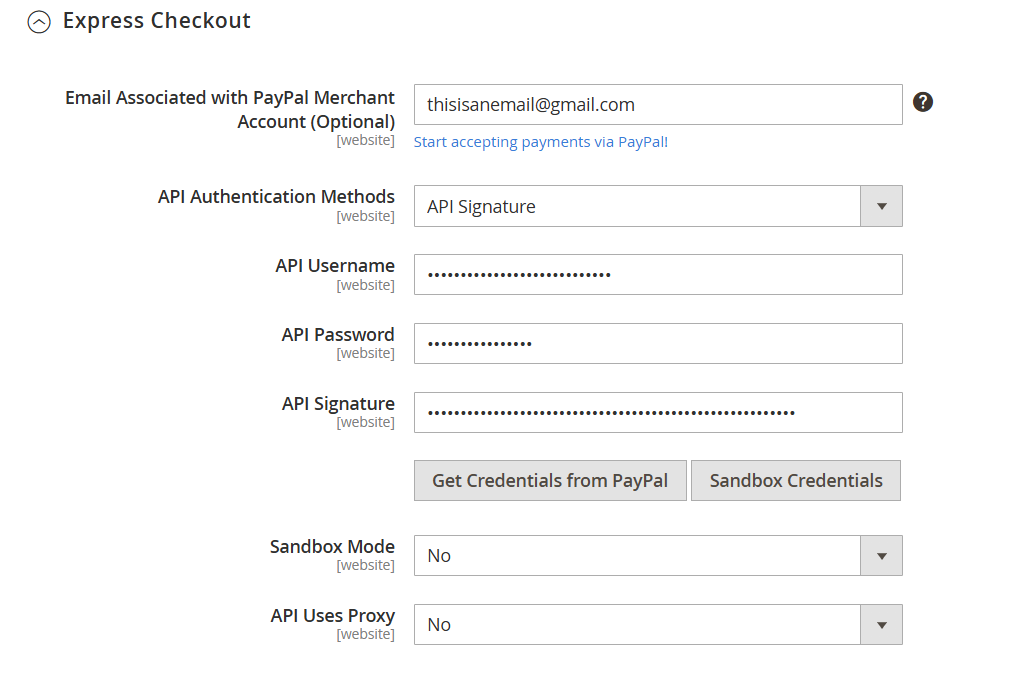
Now all of your API Signature information will be available – You need to keep this screen up and copy and paste the into your website (important info is the API username, API password, and Signature)

Now it’s time to connect this API Signature info to your website – Login to your site manager > click on Stores > Configuration

Scroll down and expand Sales dropdown > click Payment Methods

Find the PayPal option and click Configure

Copy and paste all of your credentials from the PayPal API Signature page
Click Save Config button in top right corner to save PayPal configuration changes

Last, go to System > Cache Management > click Clear Magento Cache

