Setting up Stripe Payments
Step 1: Access Payment Methods Configuration
- Login to Your Website: Begin by logging into your Magento 2 website’s admin panel.
- Navigate to Configuration: From the dashboard, go to
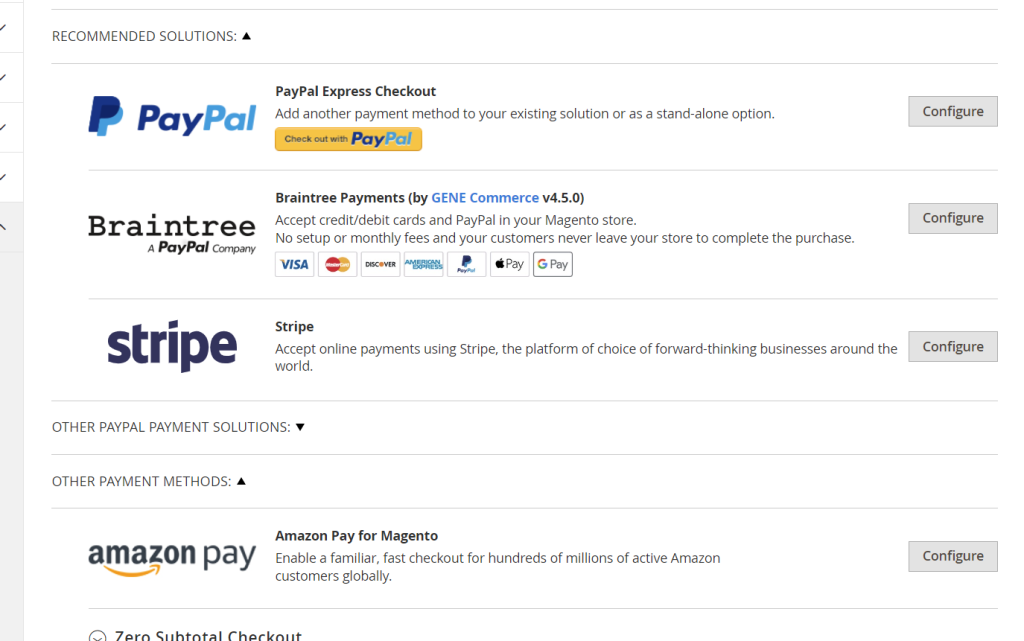
Stores>Configuration>Sales>Payment Methods. - Locate Stripe Payment Option: Find the Stripe payment option within the list and click on
Configure. - Open General Settings: Click the dropdown for
General Settings.
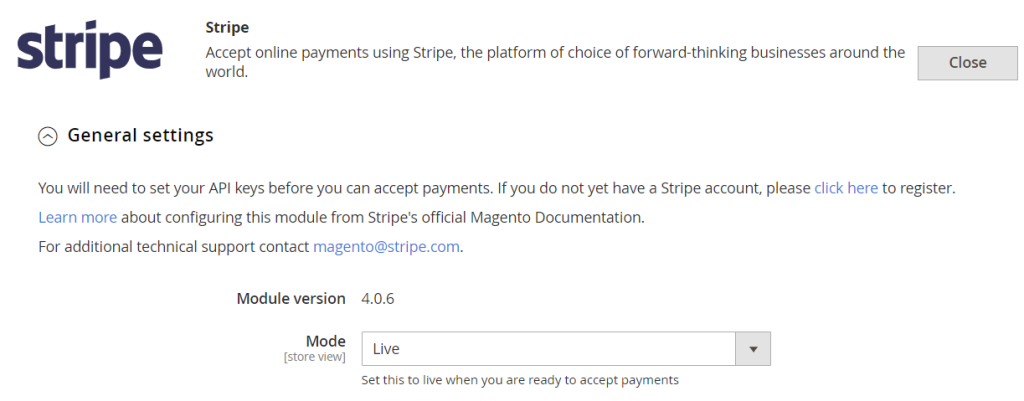
Step 2: Configure Stripe Payment Settings
- Switch Between Test and Live Mode: Within the general settings, you can toggle Stripe Payments from
Testmode toLivemode. - Retrieve API Keys: In the
Livemode, you will see fields for theLive Publishable API KeyandLive Secret Key. These keys need to be obtained from your Stripe account.

Step 3: Create a Stripe Business Account
- Access Stripe Dashboard: Go to Stripe Dashboard.
- Login or Create Account:
- If you already have an account, log in with your credentials and navigate to your dashboard.
- If you do not have an account, click to create one by entering a username and password to begin the account creation process.
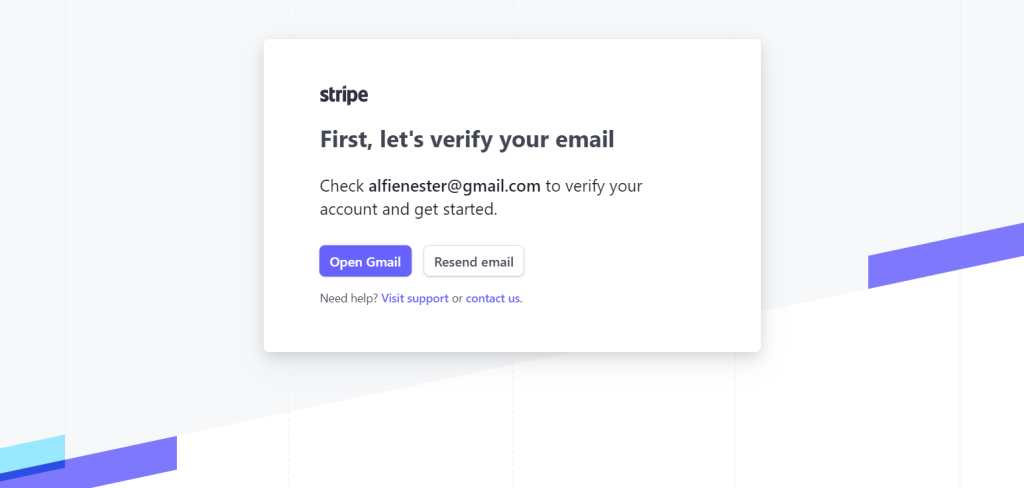
- Verify Your Email:
- After creating an account, Stripe will send a verification email to the address you provided.
- Navigate to your email inbox, find the email from Stripe, and click
Verify Email.

Step 4: Complete Profile Setup
- Access Stripe Dashboard: After email verification, you will be redirected to your Stripe Dashboard. Note that this account is initially a test or staging account until the profile is completed.
- Complete Profile: Click
Complete Profileto start the multi-step business verification process.
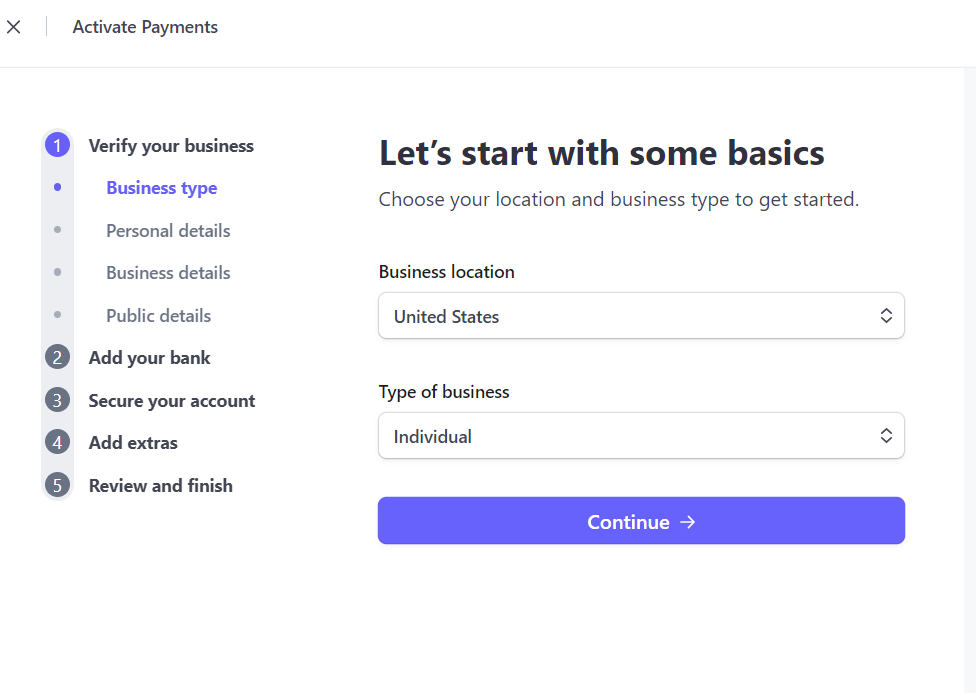
Step 5: Business Verification Process
- Enter Business Details: Provide all necessary business information as prompted by Stripe.
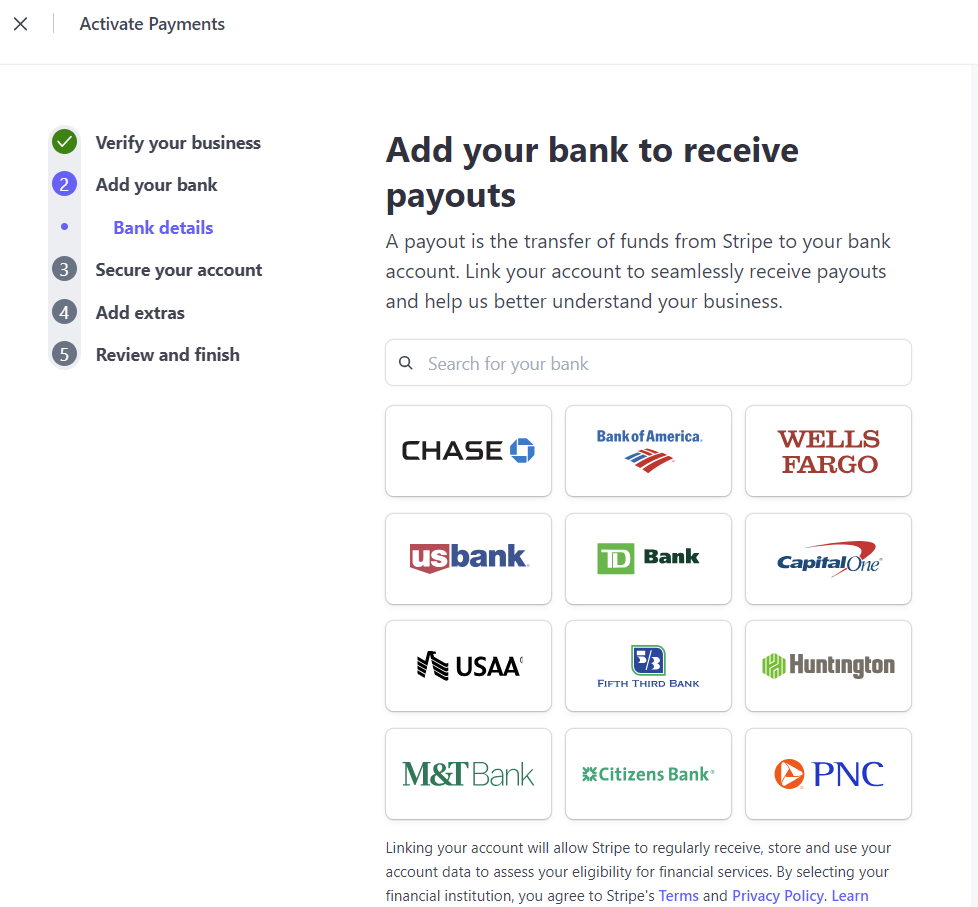
- Add Bank Account: Ensure you add your bank details for payouts.
Step 6: Secure Your Account
- Choose Security Options: During the security setup, you can select
More Optionsand opt for the SMS security option. This is the easiest to set up, though it is technically the least secure.

Step 7: Tax Information
- Enter Tax Info: You can choose to enter your tax information or skip this step if preferred.
Step 8: Donation Preferences
- Skip Donation Setup: If prompted about donations, you can opt to skip this step.
Step 9: Finalize Setup
- Review Business Details: Before completing the setup, review all entered business details carefully.
- Agree & Submit: Once reviewed, click
Agree & Submitto finalize the setup.
Step 10: Connect Stripe API to Magento
Ensure your Magento website Stripe settings are no longer in default Test mode: Navigate to Stores > Configuration >Sales >Payment Methods
Now you will click General Settings dropdown and ensure MODE is set to LIVE
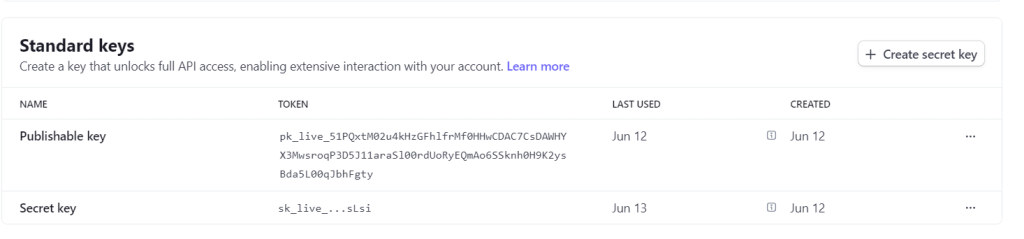
Navigate back to Stripe Dashboard to get Live publishable API key & Live secret API key : Click on DEVELOPERS in top right corner > then click the API KEYS tab.
Here you will see your Live publishable API key and you can generate a secret key. Copy both of these and paste them into the General Settings section on your website in Stripe area.

Ensure Payments are enabled : Click on PAYMENTS dropdown directly under General Settings and make ENABLED is set to YES

Step 11: Flush Cache and Test
Flush your websites cache : Navigate to System > Cache Management > Click Flush Magento Cache
Go back to the FRONT END of your website and add a random product to your cart > PROCEED TO CHECKOUT > ENTER A VALID MAILING ADDRESS > PROCEED TO PAYMENT SCREEN
You will now see that Stripe Payments are active
